How to Login to Cyfuture Cloud Console for Object Storage?
Step 1: In the Cyfuture Cloud console, under the “Services” section, click on “Enterprise Cloud Services (Pay-as-you-go).

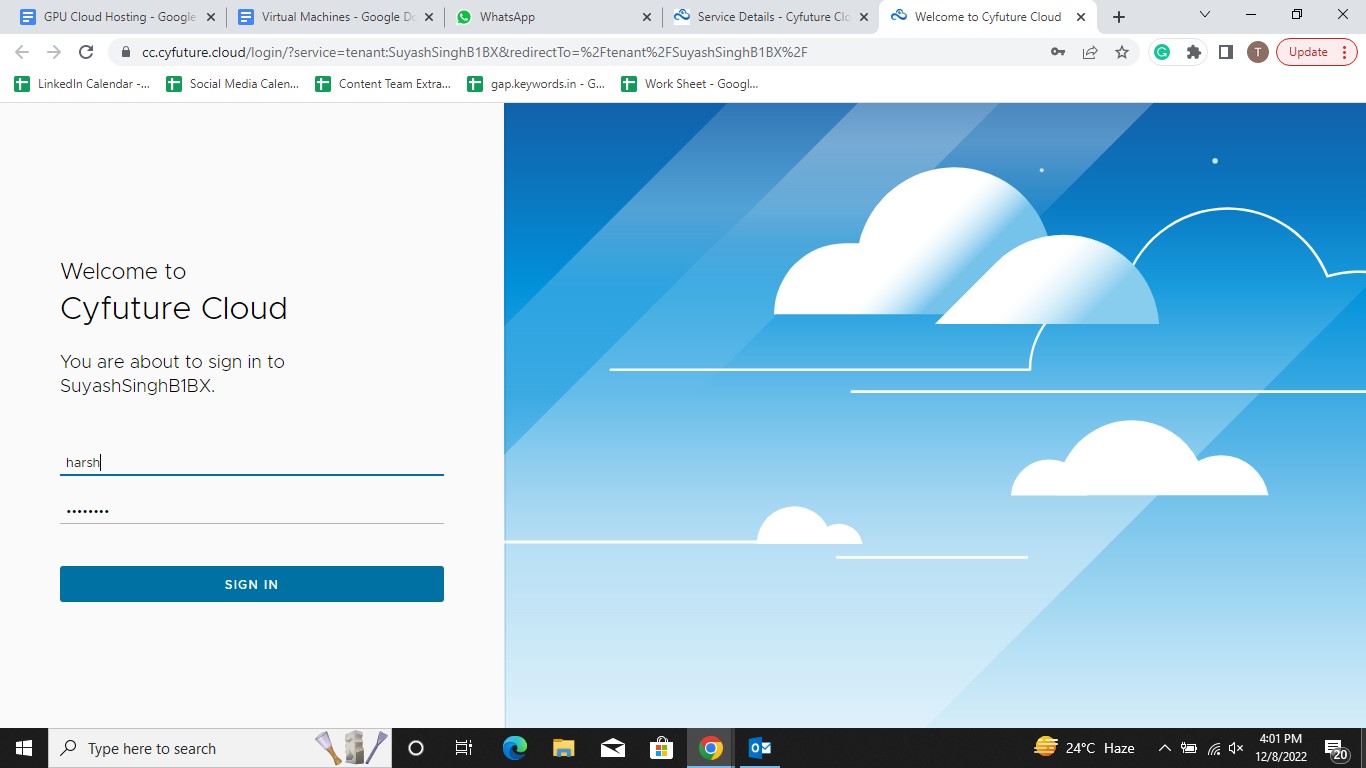
Step 2: Copy the username and password and follow the link to process to the control panel and log in to the cloud console. Hit the “Sign In” button once done.
Step 3: In the cloud console portal dashboard, click on “More”. From the drop-down menu that opens, click on “Object Storage”.

Step 4: The object storage dashboard opens up. This is the main page through which buckets can be created and deleted. This dashboard gives a clear view of the number of object buckets you have along with the number of objects you have stored in these buckets along with the available storage.

How to Create a New Bucket?
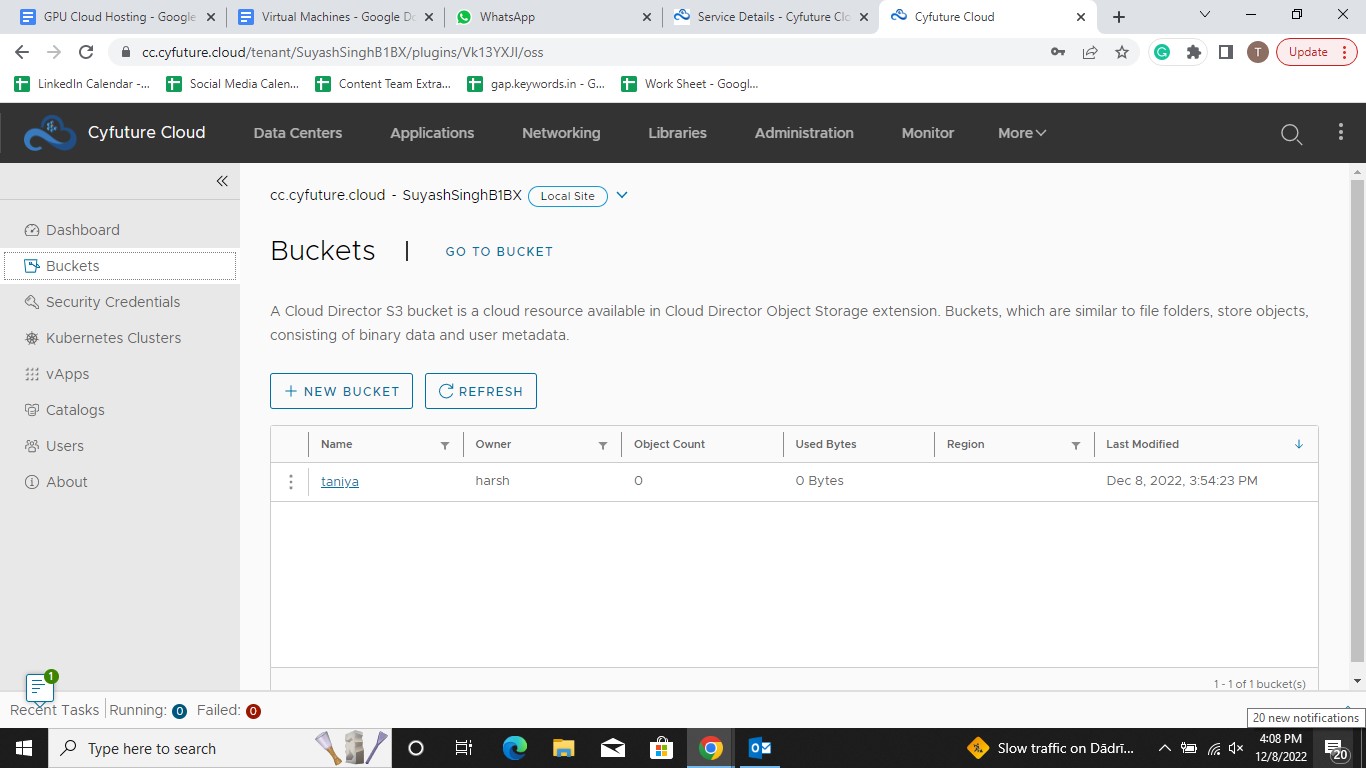
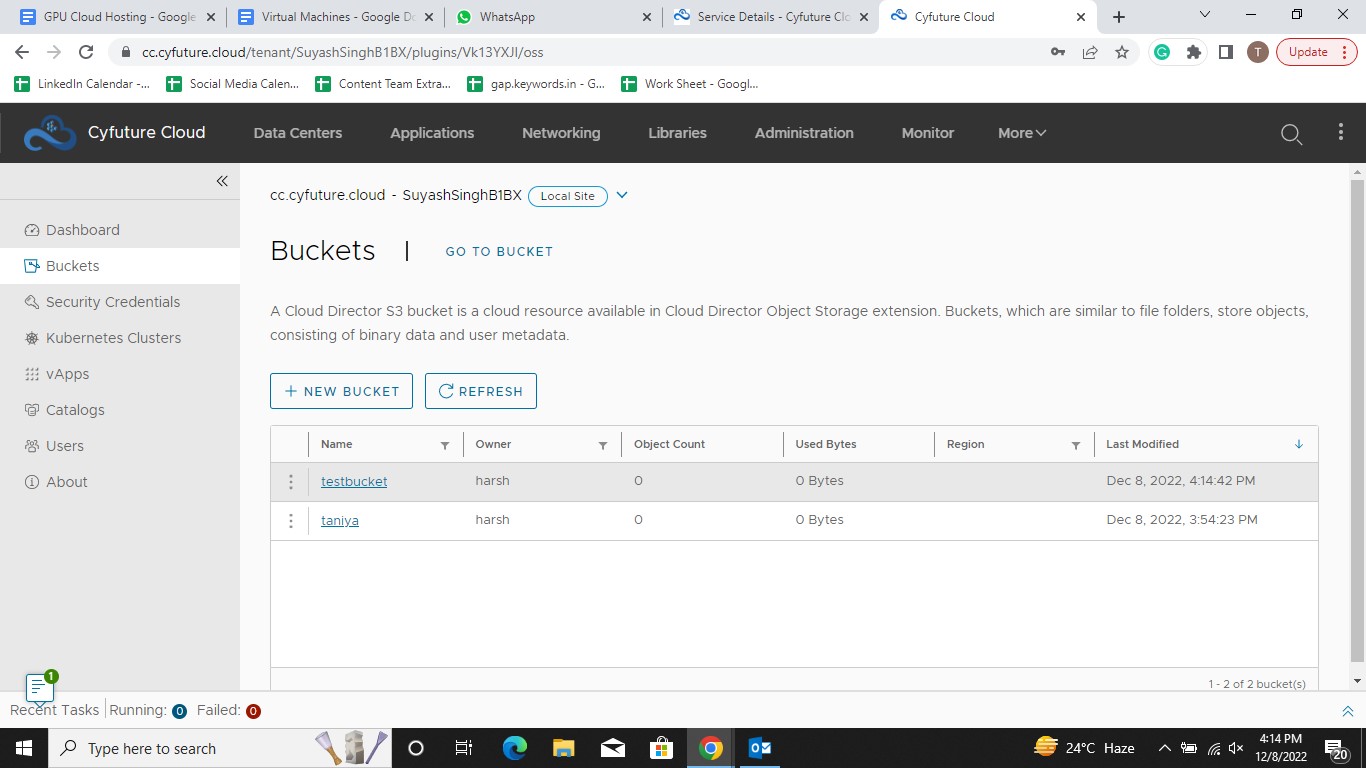
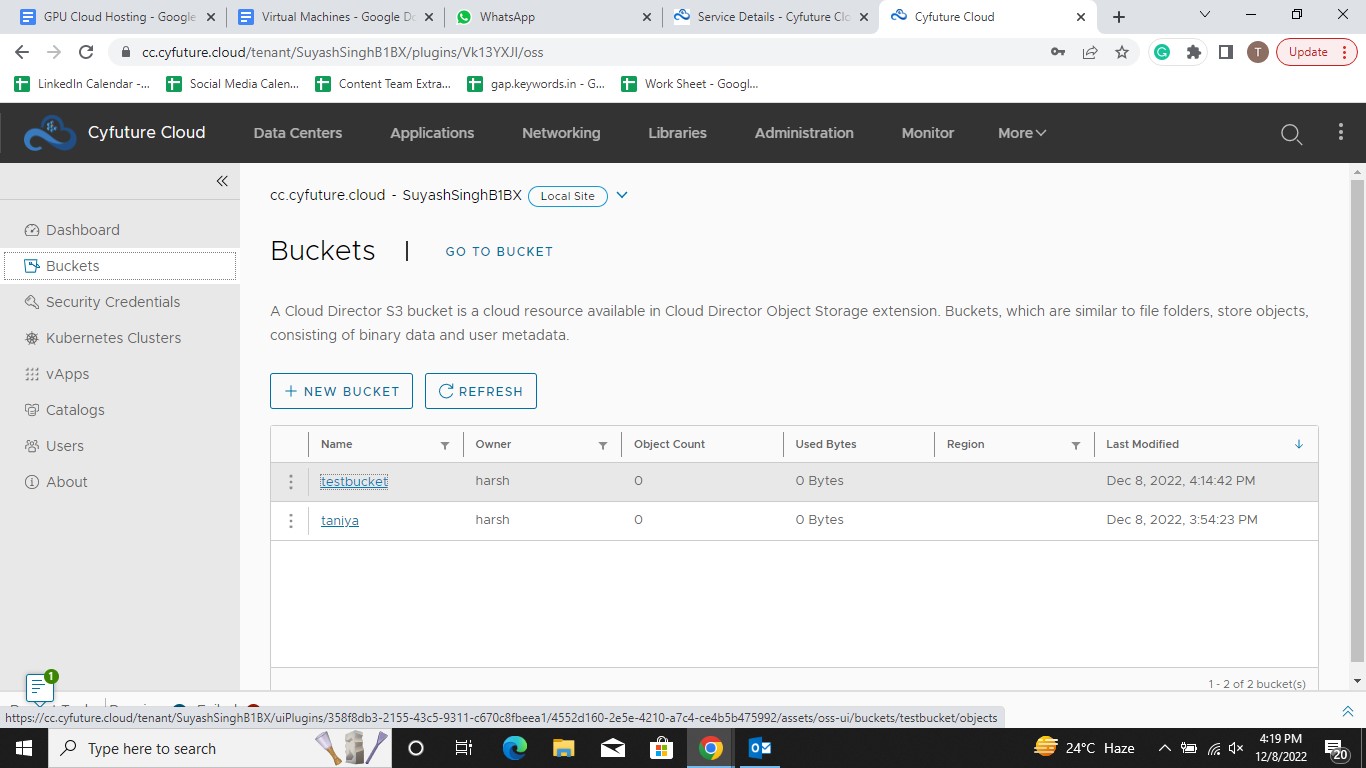
Step 1: In order to create a new bucket, click on “Buckets”. The bucket page opens up. Here, click on “New Bucket” to create a bucket.
Step 2: As soon as you click on “New Bucket”, a new page opens up. Here give a name to the storage bucket you wish to create. Do not forget to check the validation rules while naming the bucket. Also, activate versioning to keep multiple versions of an object in the bucket.
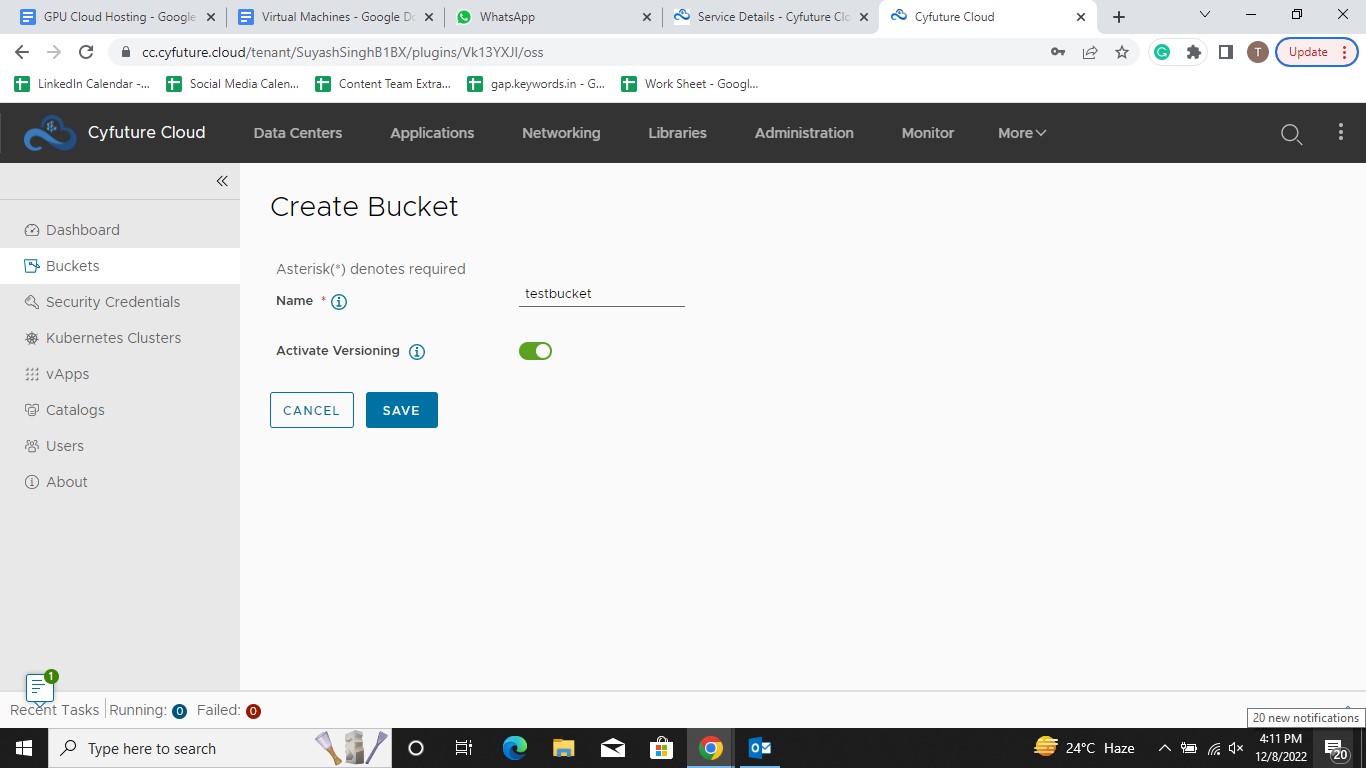
Step 3: You have successfully created the bucket. All the buckets you have created can be accessed from the buckets dashboard. Enable the Activate Versioning to avail the 2 copies of the data to be saved in storage
How to Delete A Bucket?
Step 1: In the buckets section, click on the three dots before the bucket name you wish to delete.

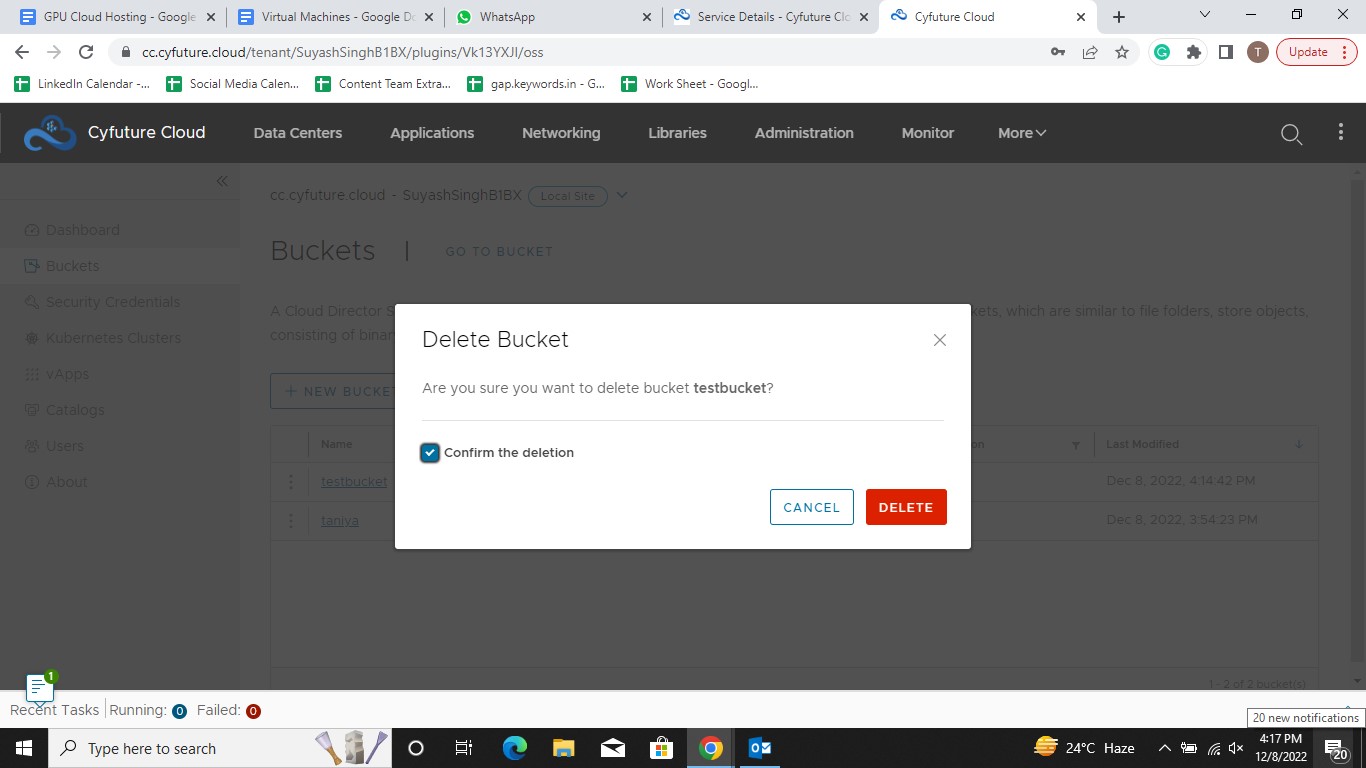
Step 2: Hit the delete button from the menu and check the “Confirm the deletion” box. Once done, tap the “Delete” button in red to delete the bucket.
How to Add Objects to a Bucket?
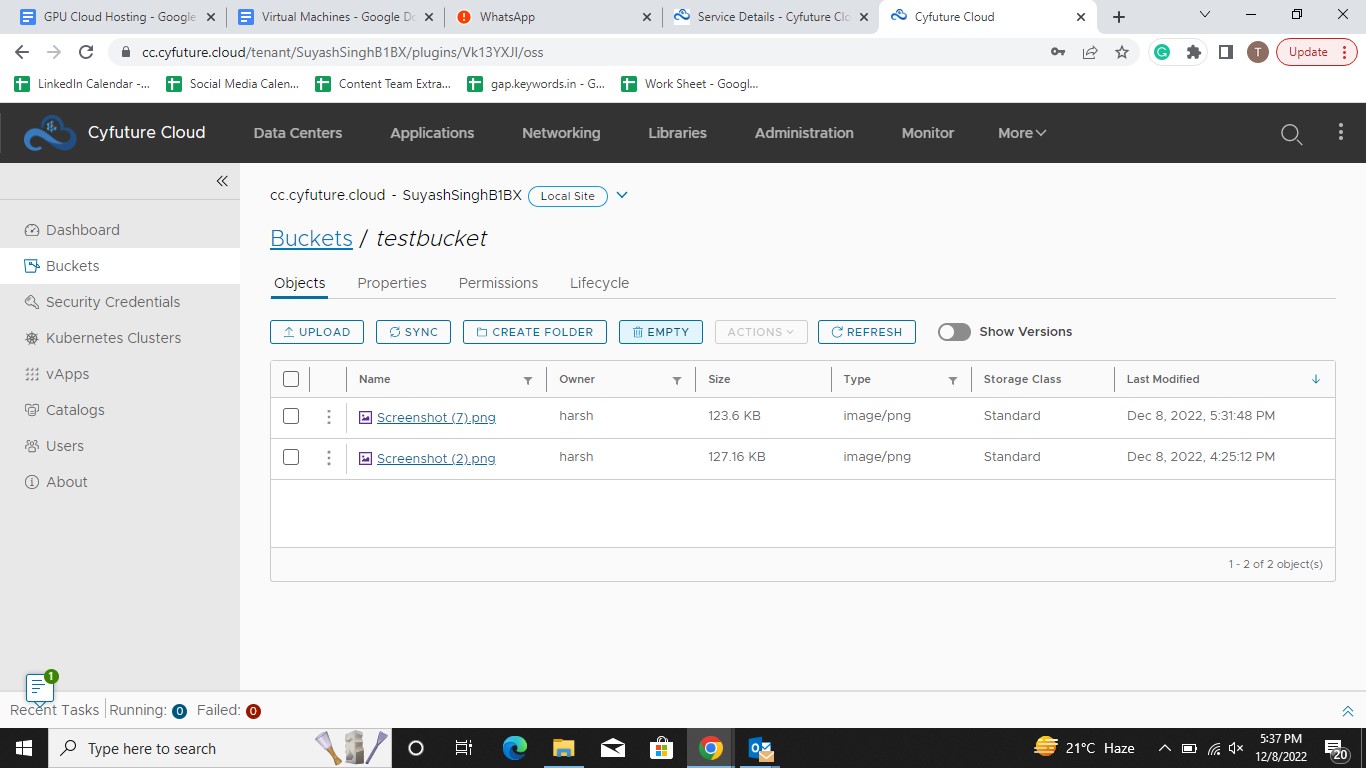
Step 1: In the buckets section, click on the clickable click on bucket name in which you wish to store the object.

Step 2: On the next page that opens up, click on “Upload” to upload the objects in the respective storage.

Step 3: Click on “Add Objects” to select the object from your laptop or PC. Hit the “Upload” button to upload the object.
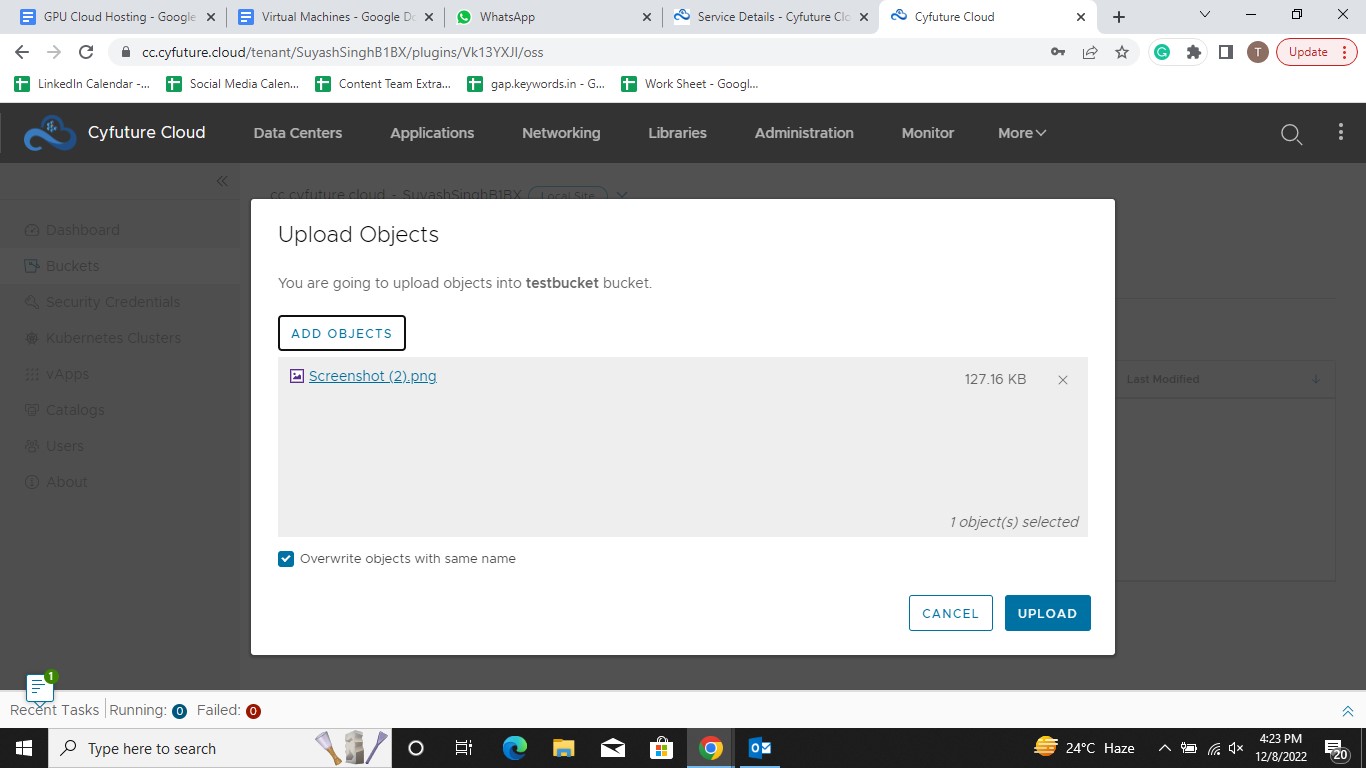
Step 4: Hit the “Close” button, once all the objects have been successfully uploaded.

How to Delete an Object?
Step 1: Click on the link over the bucket name for which you wish to delete the object.

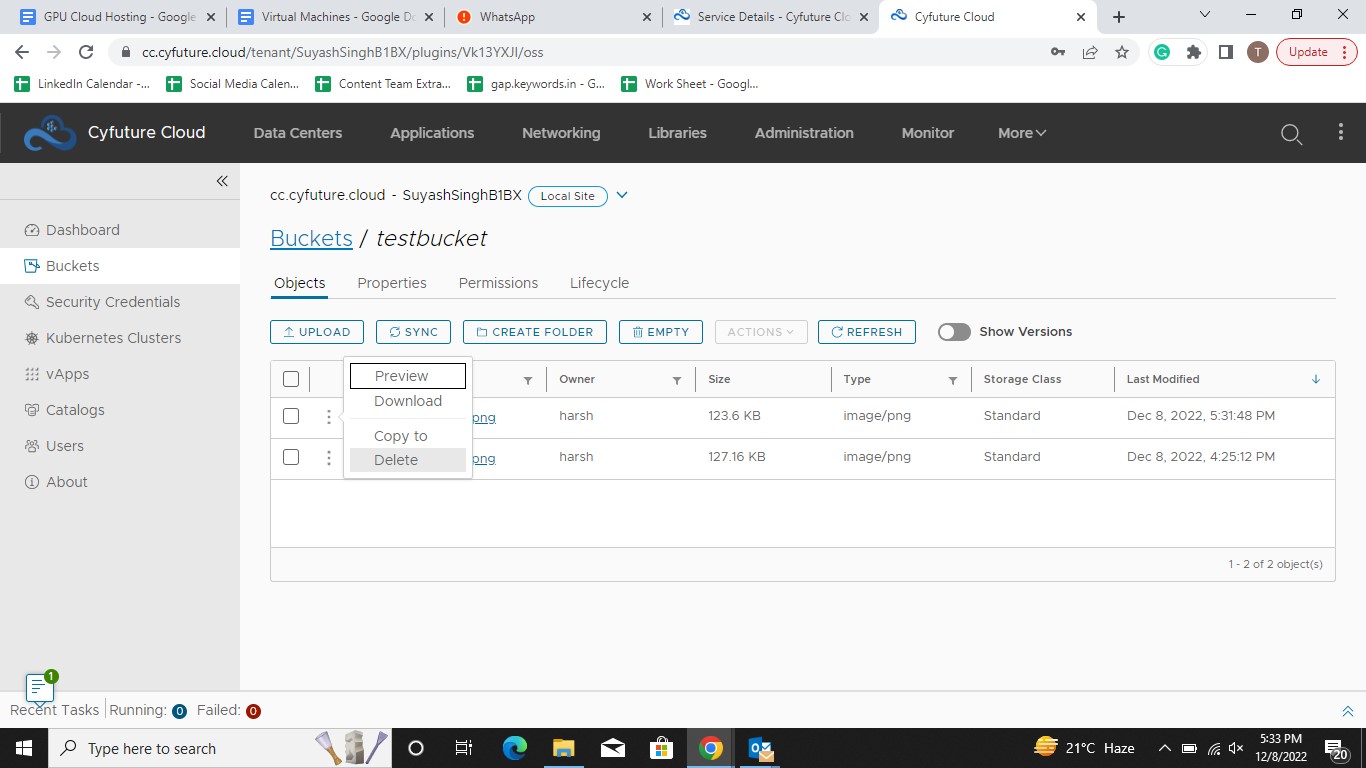
Step 2: Click on the three dots against the object which you wish to delete. Hit the “Delete” button from the menu that opens up.
How to Preview an Object?
Step 1: Click on the link over the bucket name for which you wish to preview the object.
Step 2: Click on the three dots against the object which you wish to delete. Hit the “Preview” button from the menu that opens up.

How to Delete All The Objects From A Bucket?
Step 1: Click on the link over the bucket name for which you wish to preview the object.

Step 2: From the top menu that appears above the created objects, click on “Empty” to delete all the objects from a bucket.
Step 3: Working with s3browser.cyfuture.cloud (s3 browser porta). We will use this browser for accessing our buckets and objects. We can also preview our uploaded objects through this browser and share the link also.
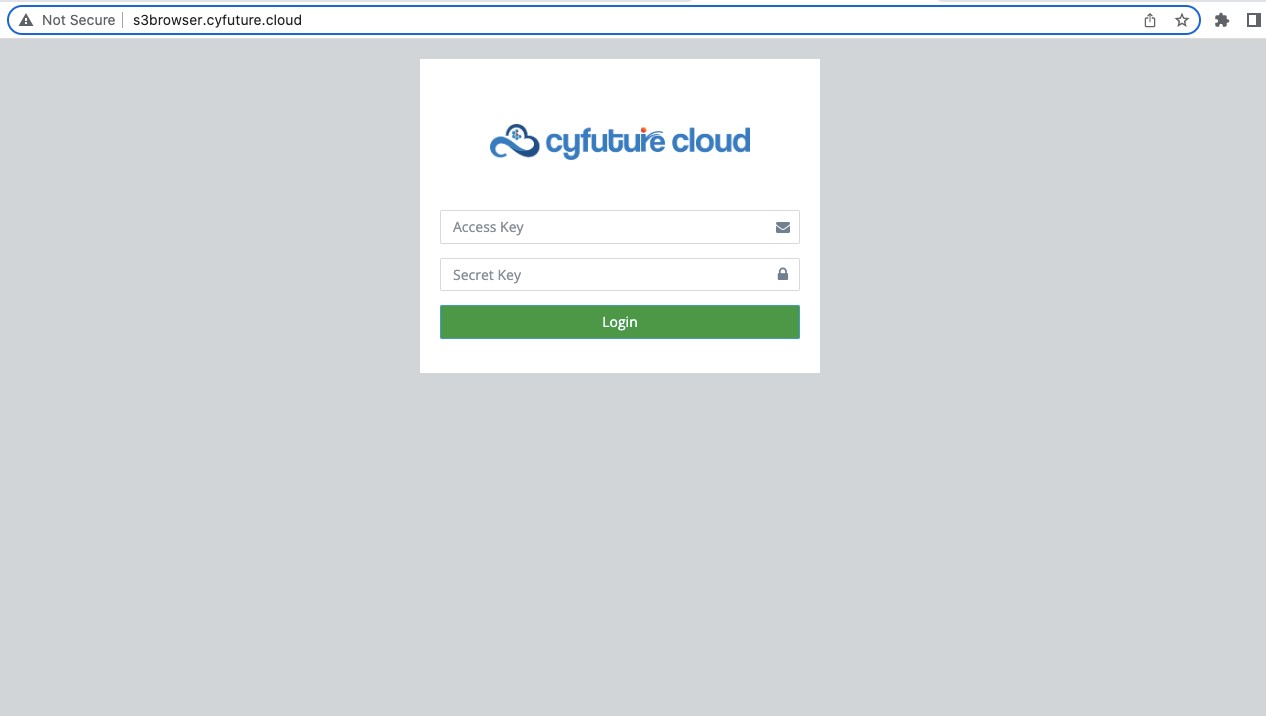
Step 4: Provide the access and secret key to Login to the browser. Now the user can see his buckets,he can create buckets, delete his objects, preview the object which he has uploaded on the web.
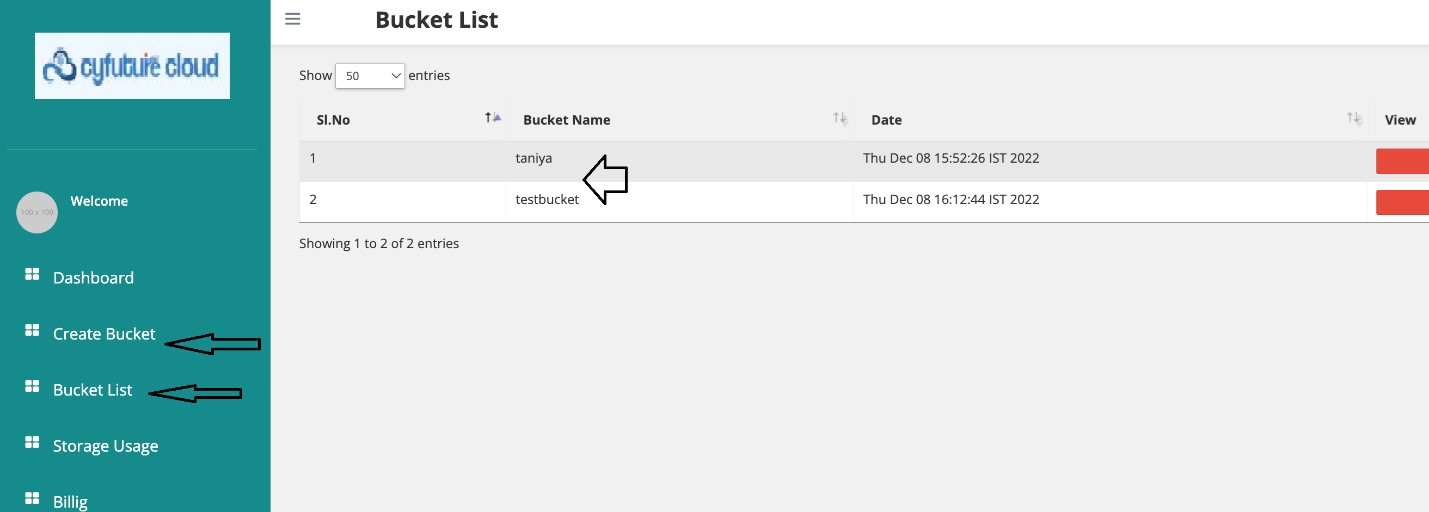
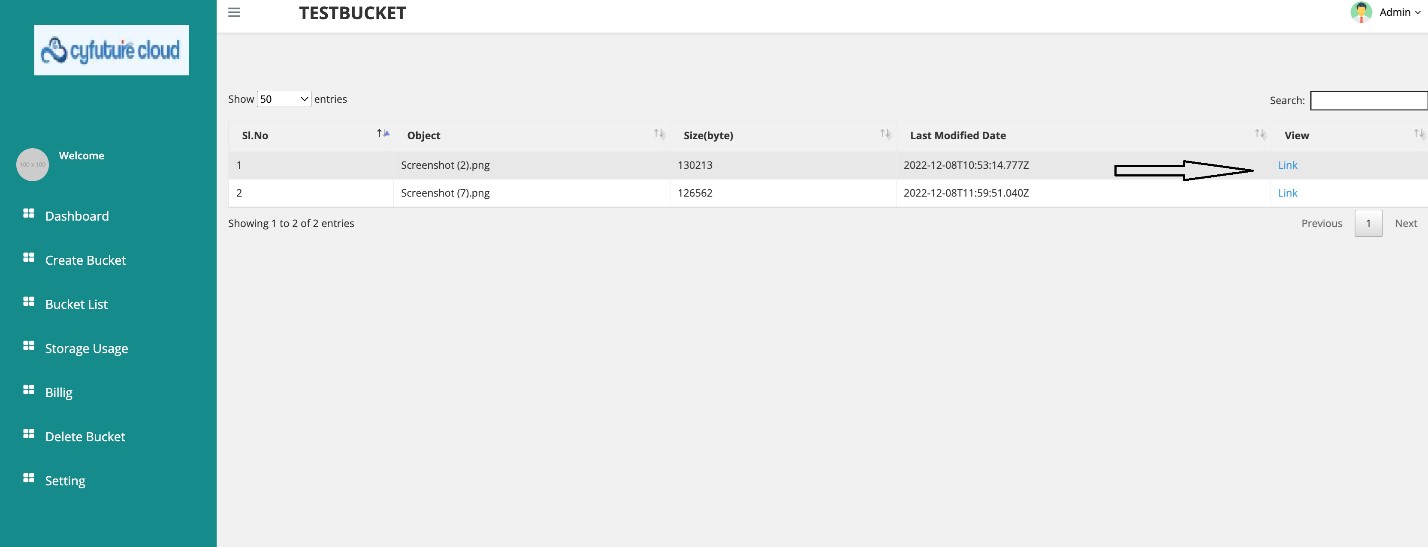
Step 5: After clicking on the view we can access the objects inside the buckets.

Step 6: Click on Link option to get the S3 URL to and to preview the object on the web.