Steps for Creating an Account on Cyfuture Cloud portal
1. Enter the URL in your browser: https://cyfuture.cloud/. Hit the “Sign In” or “Join Now” button on the home screen to land on Cyfuture Cloud console.

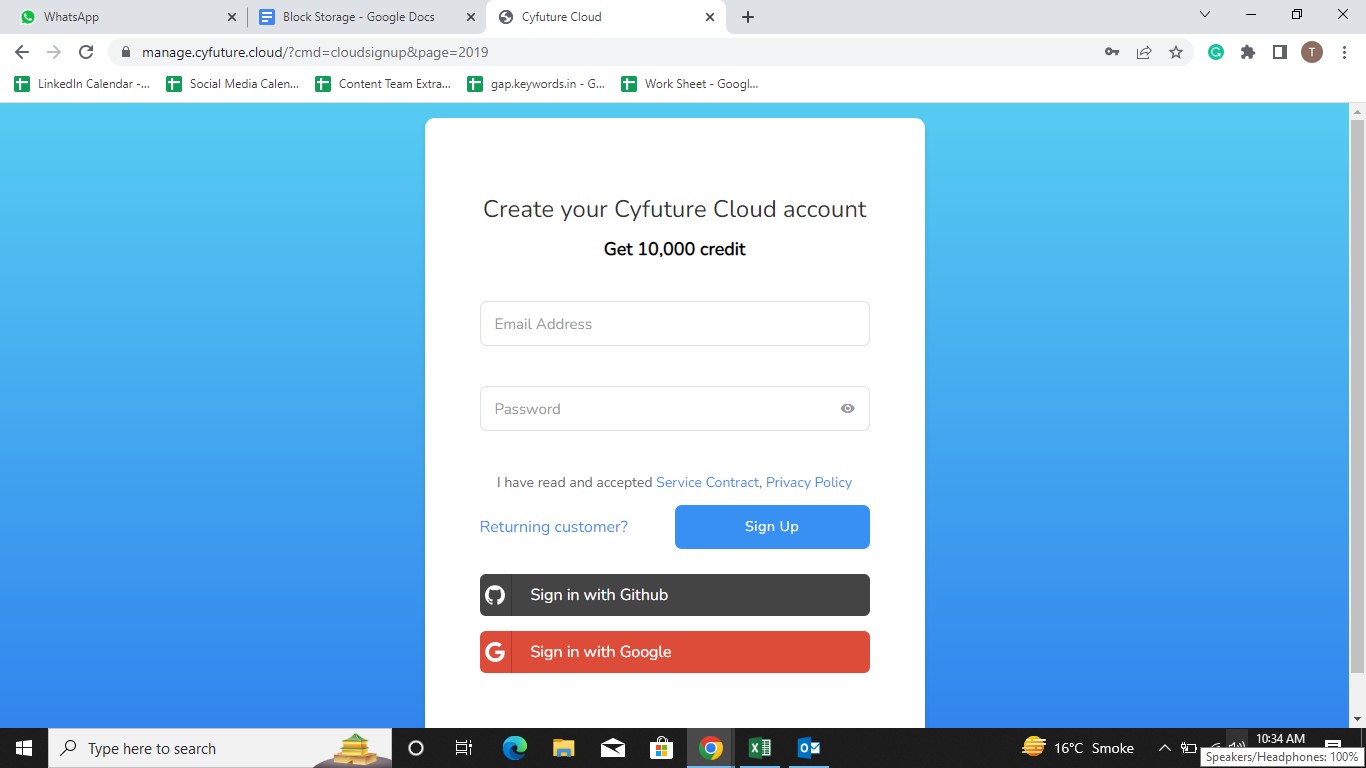
2. On the sign in page, either you can click on “Sign in with GitHub” or “Sign in with Google”. Also, you can click on “Create Account”.

3. On this page, enter you email address and password. Hit the “Sign Up” button once done.
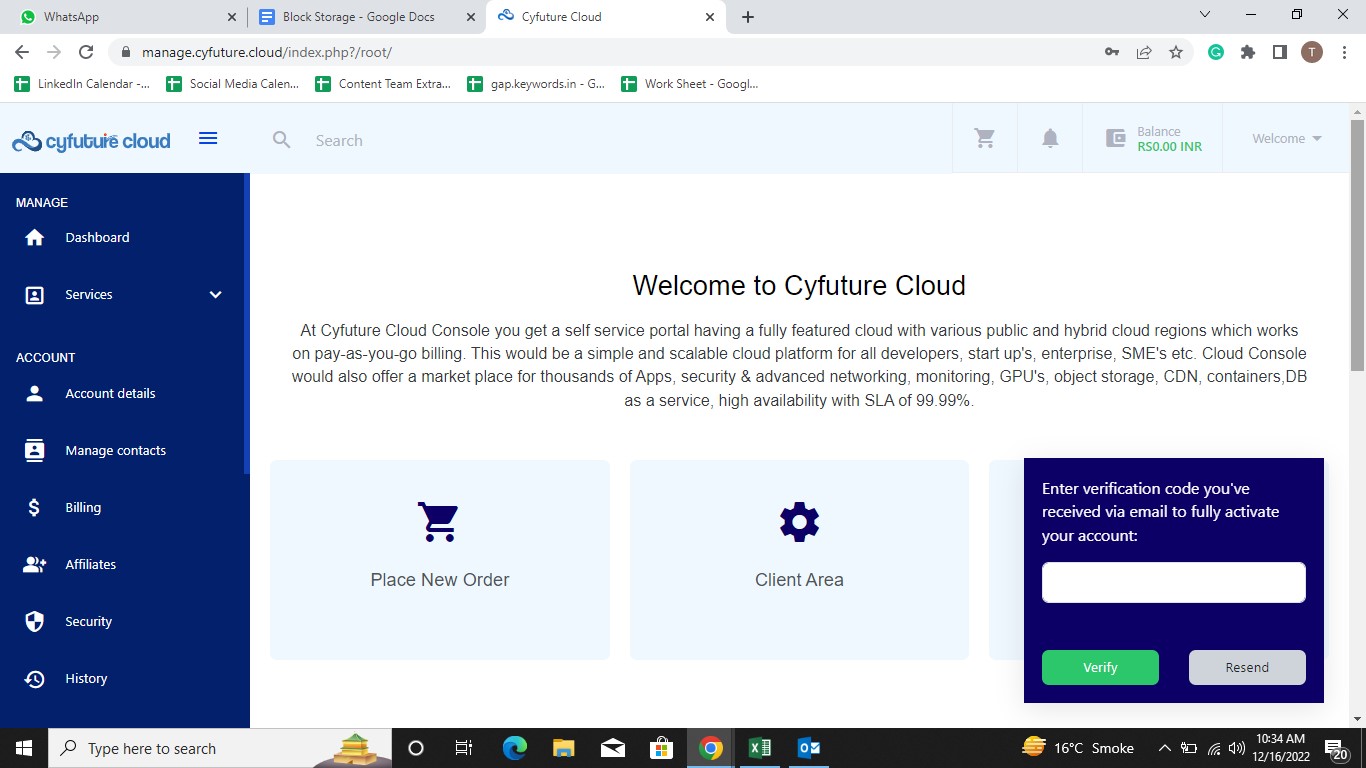
4. A verification code will be sent to your email ID. Enter the verification code and hit the “Verify” button to complete the account verification process. In case you have not received the code, you can click on “Resend”.
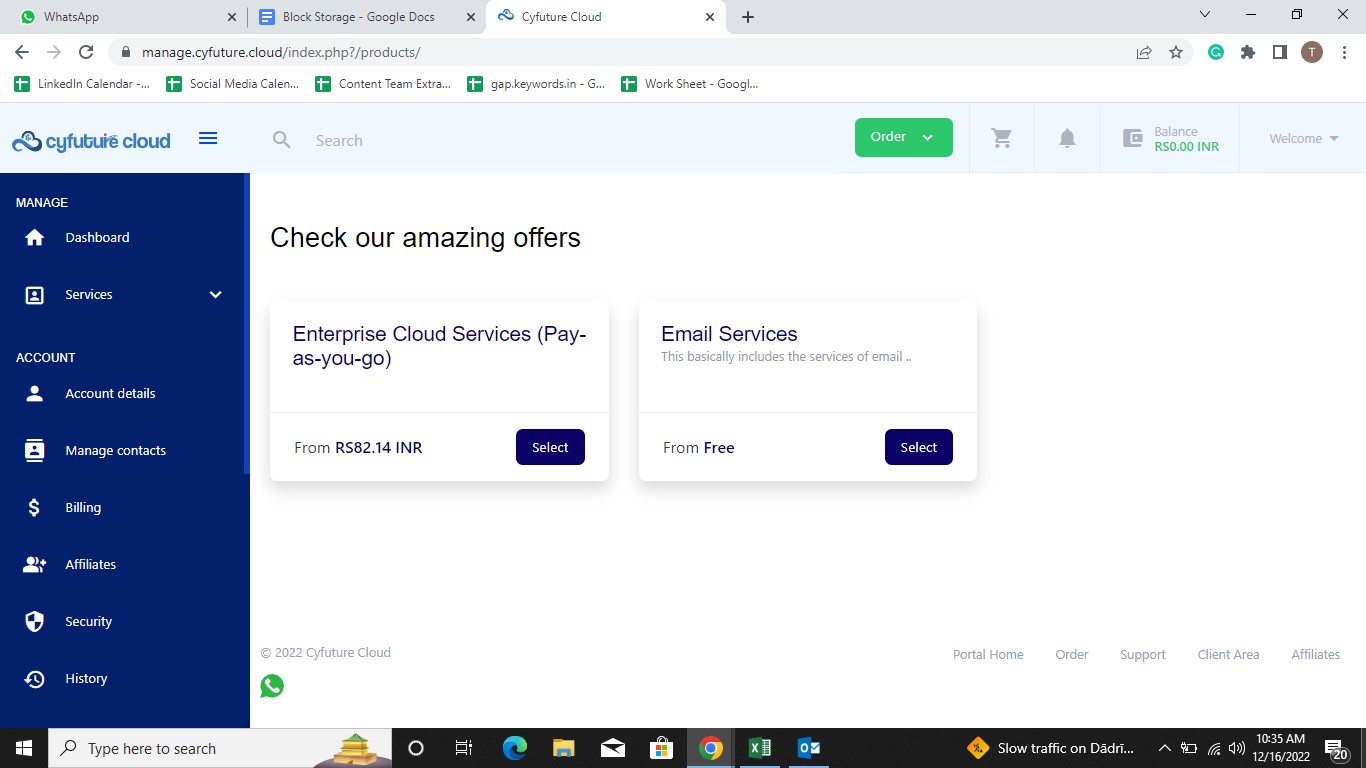
5. Once you are logged in, to place an order, hit the “Order” button. A drop-down open up, here click on “Browse Products and Services” to proceed further.
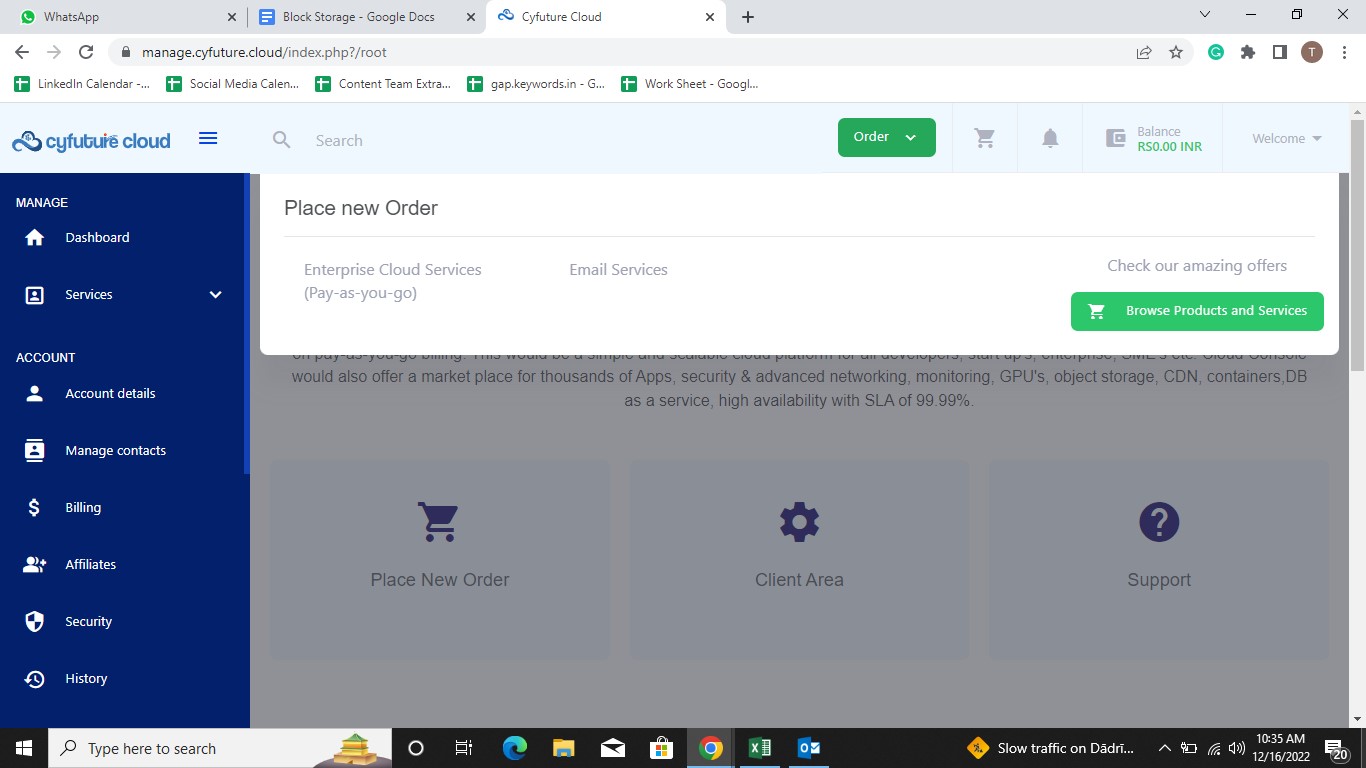
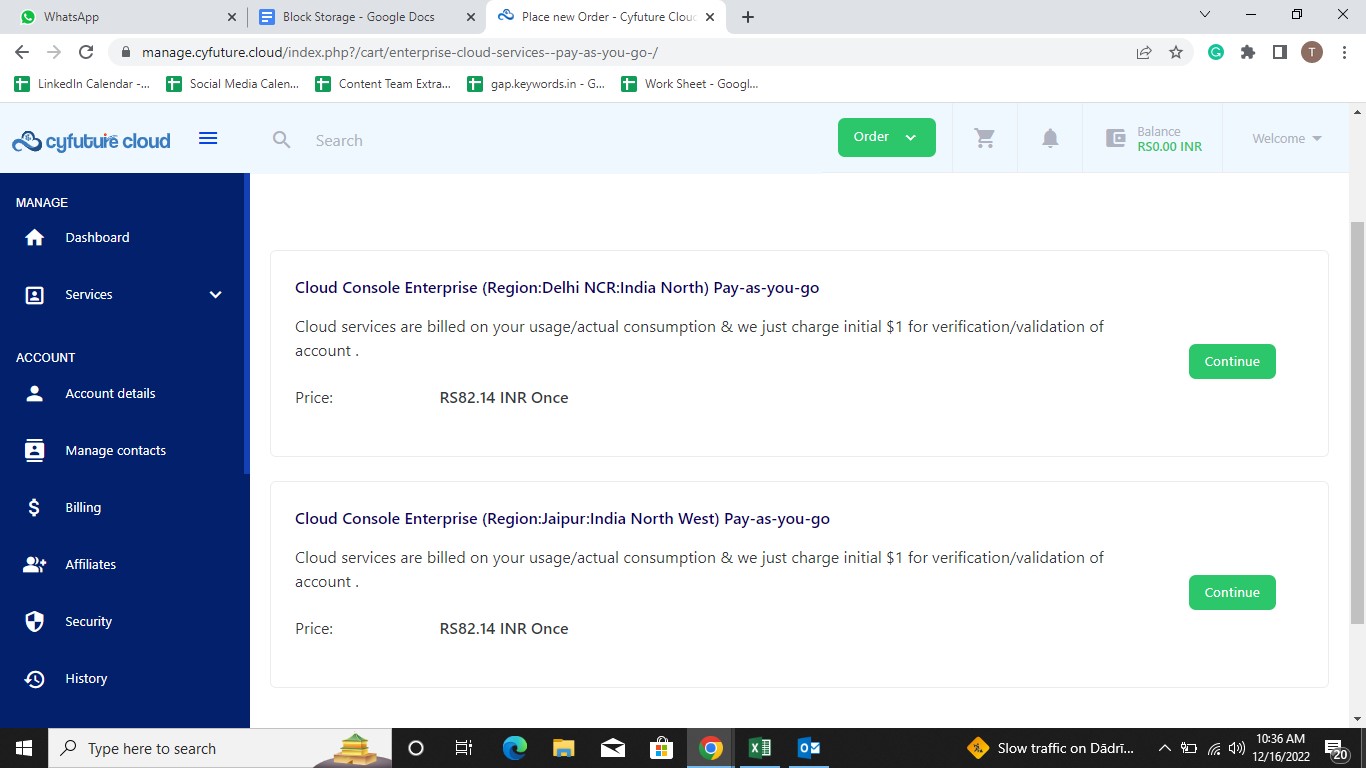
6. On this page, click on “Enterprise Cloud Services (Pay-as-you-go) to process further.
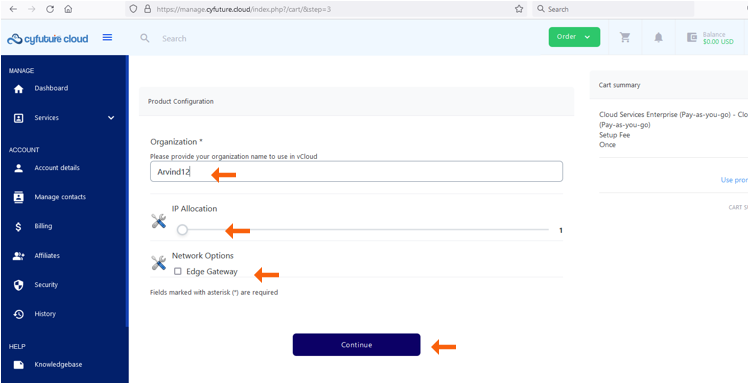
7. Fill the necessary details and click on Continue as indicated.
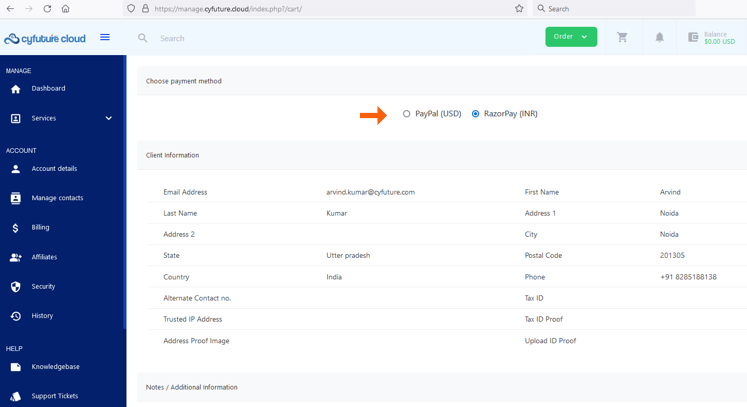
8. Now you are at the payment gateway. Select from the given payment gateway options to go ahead.
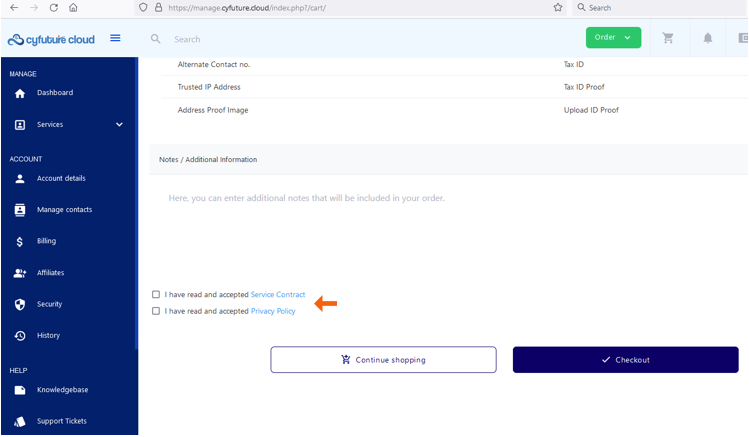
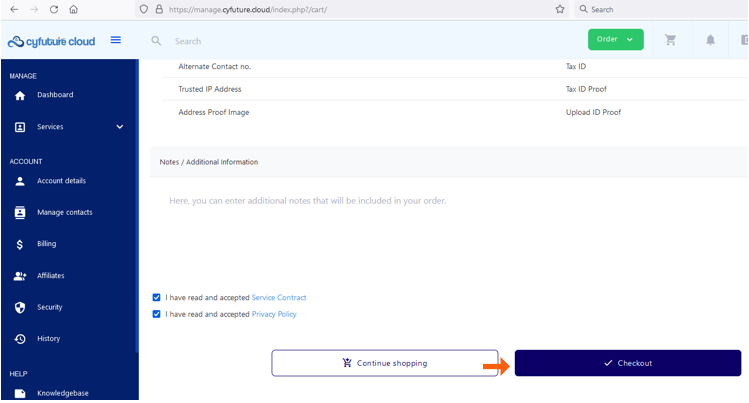
9. Check on the checkboxes - Services Contract and Privacy Policy, before you click on Checkout as indicated.
10. Click on Checkout as indicated.
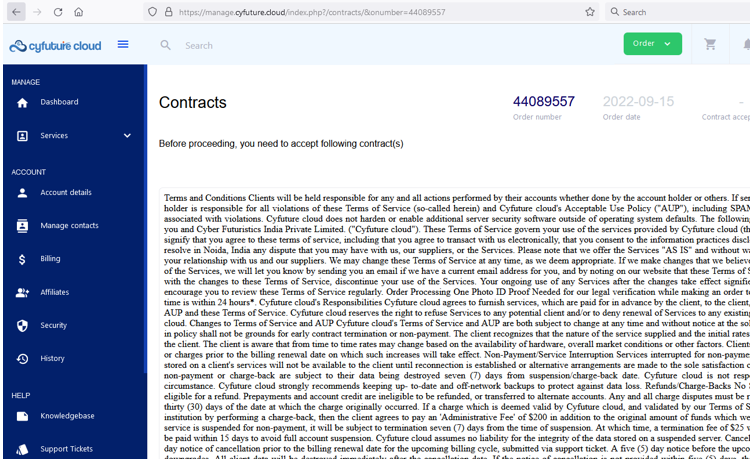
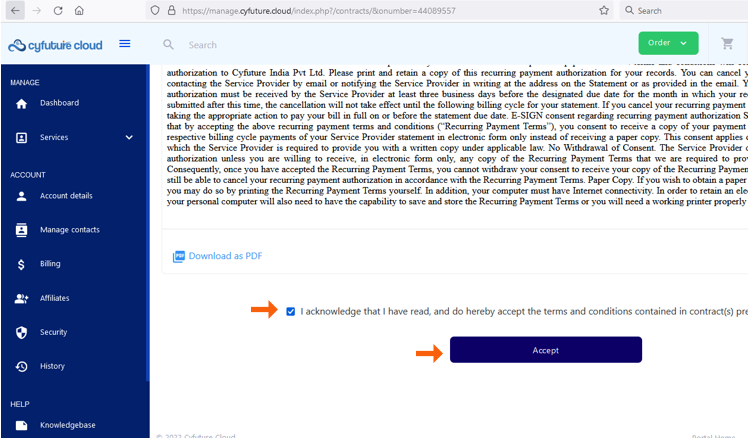
11. Acknowledge the terms and conditions and Click on Accept as indicated.
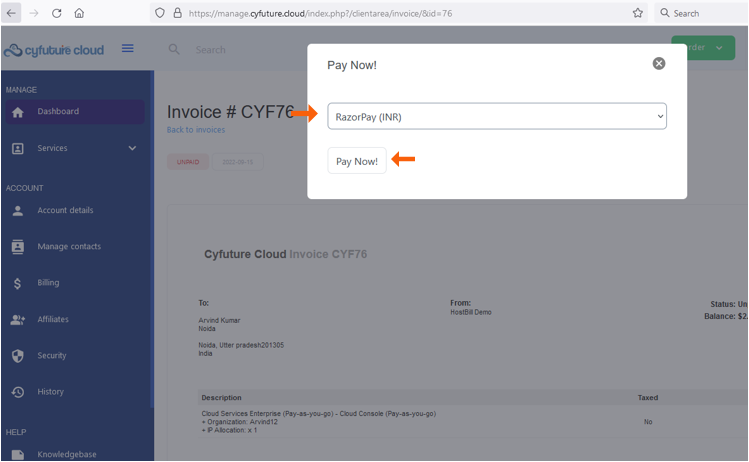
12. Click on Pay Now!
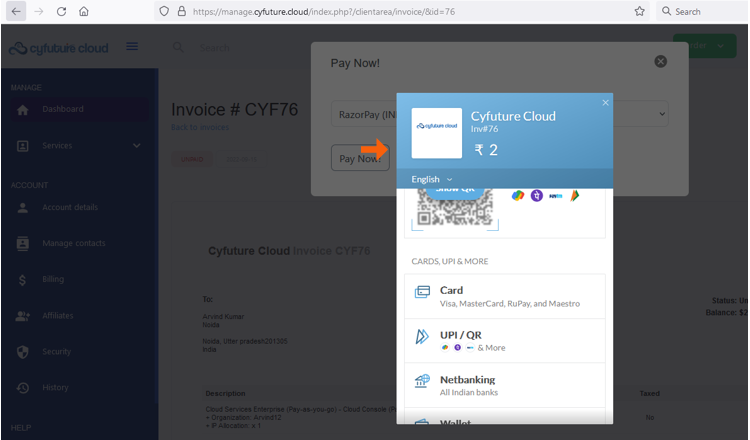
13. Select any payment method.
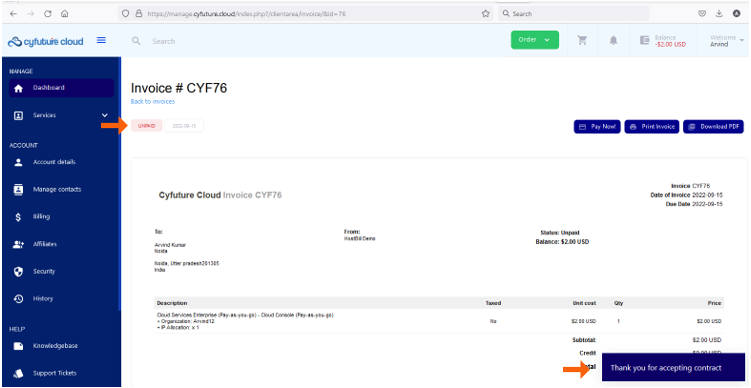
14. After the payment is successful, the indicator "UNPAID" will change into "PAID".
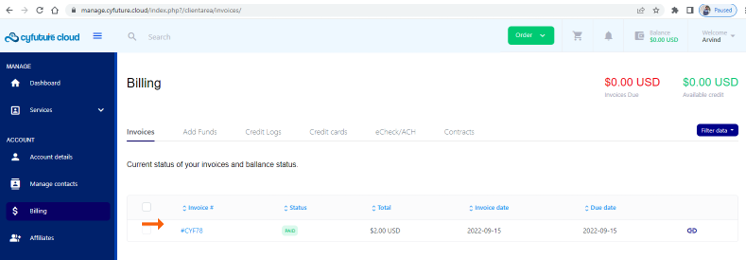
15. After payment completion your invoice status will also reflect as PAID.
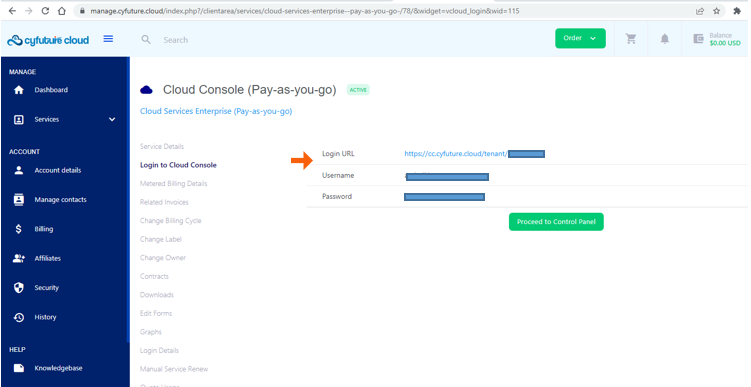
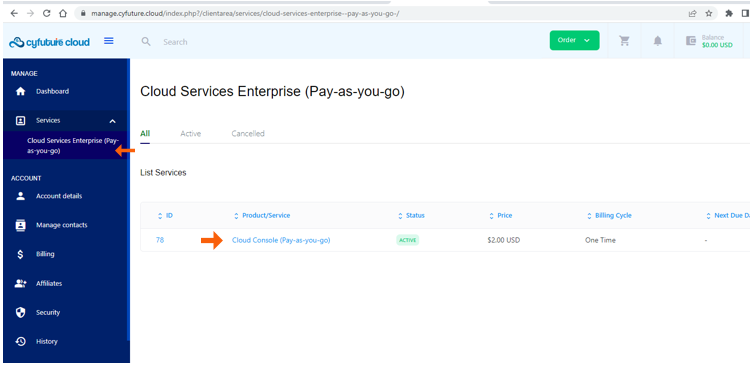
16. Click on Cloud Services Enterprise (Pay-as-you-go) and then click on Cloud Console (Pay-as-you-go).
17. Click on "Login to Cloud Console" as indicated below.
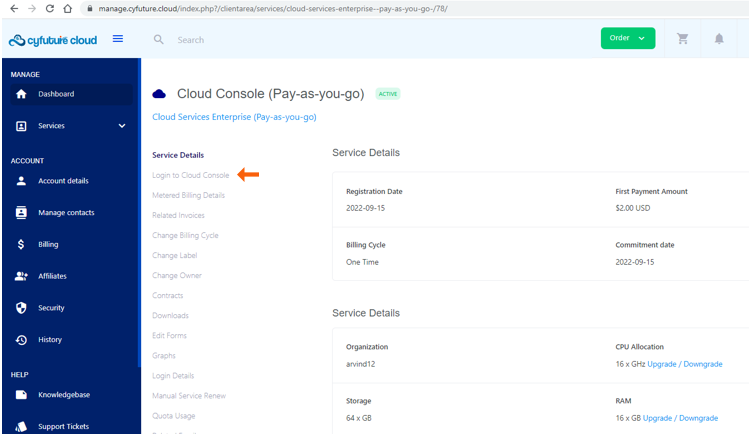
18. Here you can see cloud portal link and login credentials.